Customize Your Folders with Colors in Windows 10 and 11
Let's be honest: navigating a sea of identical yellow folders is a productivity killer. Whether you are a developer managing dozens of repositories or a creator with chaotic asset libraries, searching for a specific folder by reading labels is the slow way to work. In this guide, we're going to fix that by using Folder Painter, a lightweight, portable gem that turns your Windows file system into a color-coded, high-efficiency environment.
Why Color Coding is a Productivity Superpower
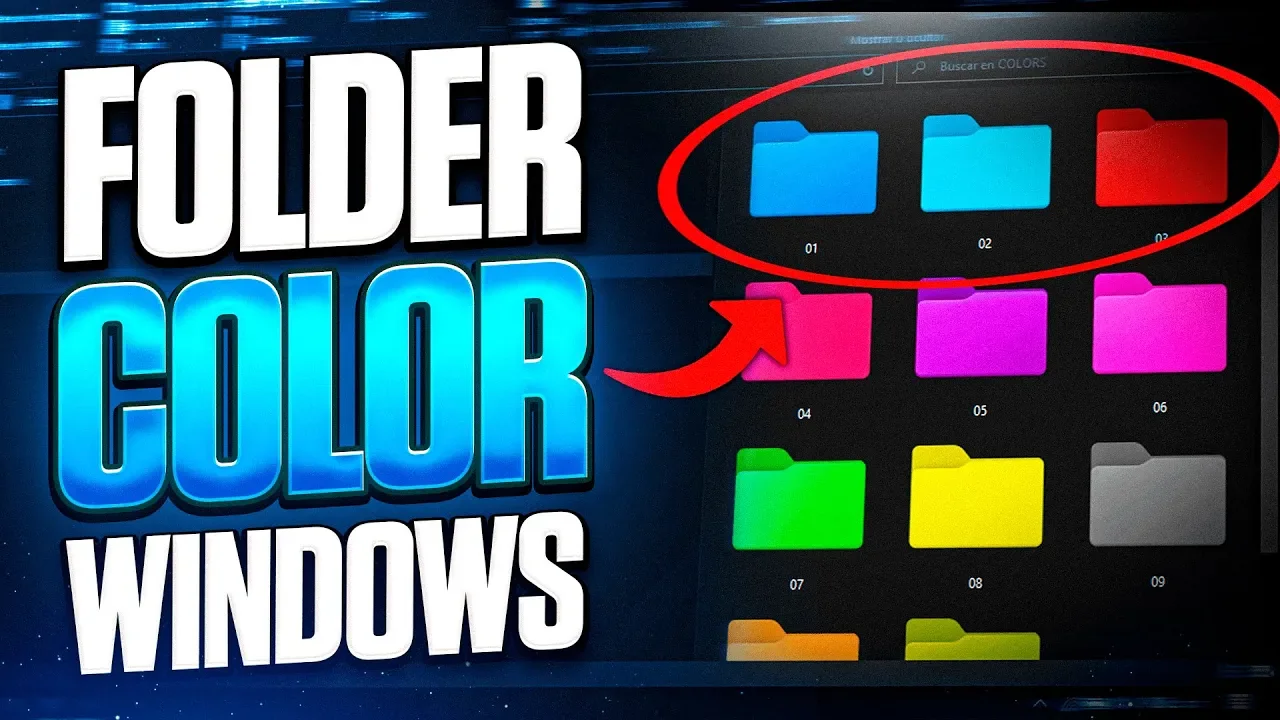
In my years of testing workflow optimizations, I've found that the human brain processes color significantly faster than text. By assigning specific colors to your most important directories (e.g., Green for "Live Projects," Red for "Urgent," Blue for "Archive"), you bypass the "reading" phase and go straight to "clicking."
While you could manually change icons via the Windows properties menu, it's a tedious process. Most people make the mistake of using heavy customization software that slows down the explorer; Folder Painter, however, simply adds a shell extension that works natively with the OS.
Step 1: Getting the Right Build
Don't go hunting on shady mirror sites. You want the clean version directly from the source.
- Head over to the official Sordum website.
- Download the Folder Painter ZIP archive.
- Pro Tip: Since this is a portable app, don't just leave it in your "Downloads" folder. Move the extracted folder to
C:\Program Files\Toolsor a dedicated "Apps" directory to ensure the icons don't break if you accidentally delete the source file later.
Step 2: Installation and Context Menu Integration
Unlike traditional software, Folder Painter doesn't "install" in the background. It integrates into your Right-Click menu (Shell).
- Run
FolderPainter_x64.exe. - In the interface, you'll see different icon packs on the left.
- Click the "Install" button.
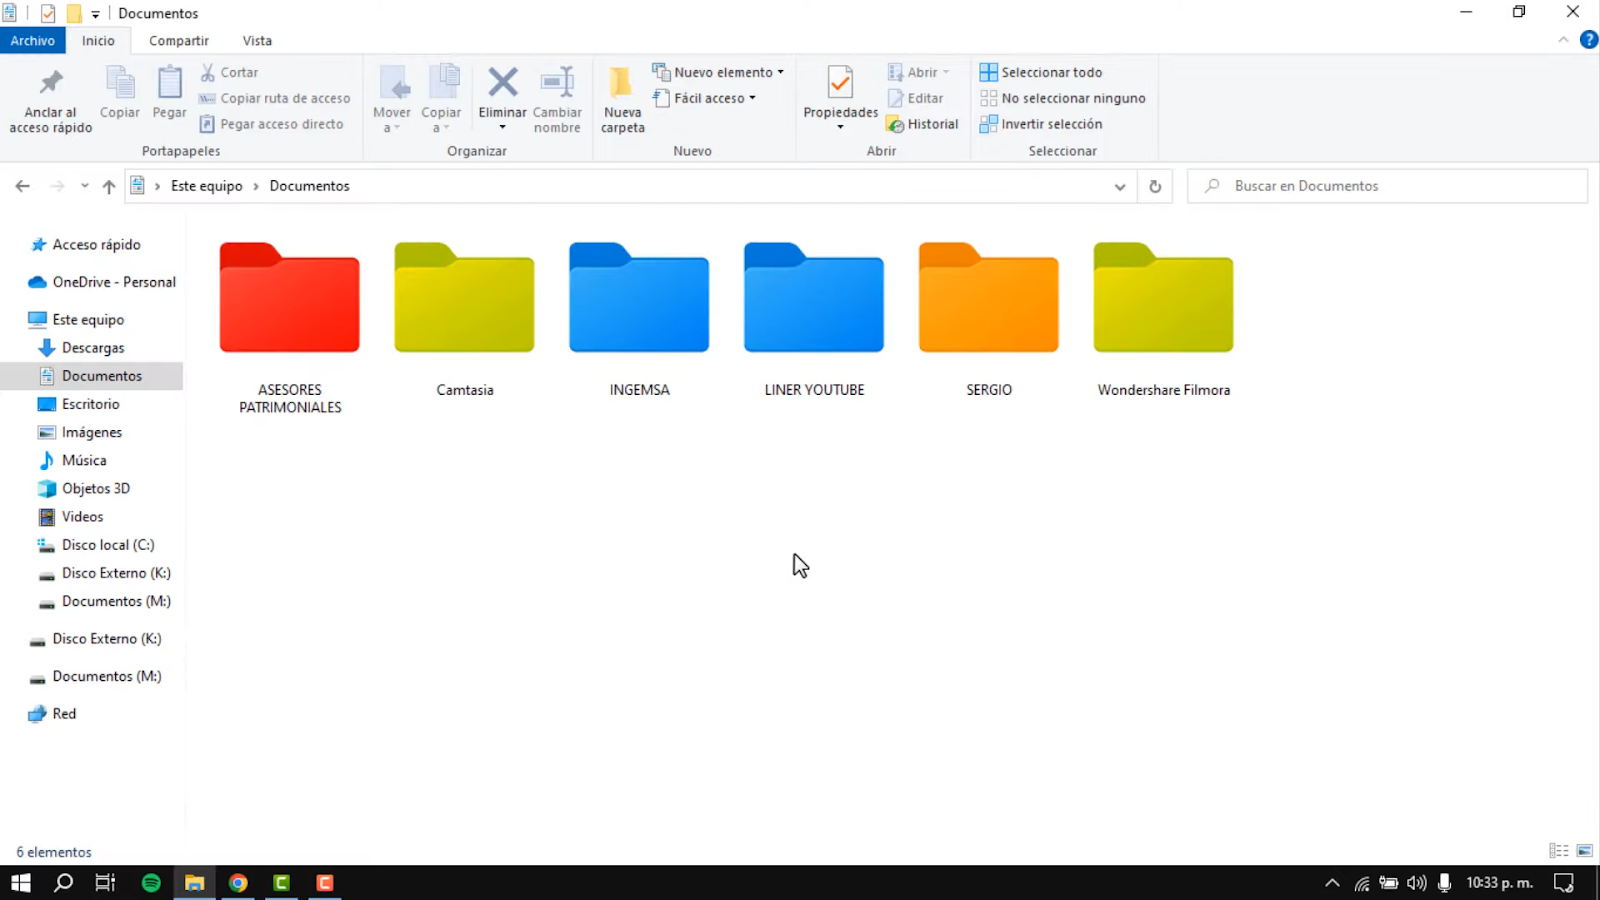
Step 3: Transforming Your Folders (The Workflow)
Now for the magic. You don't even need to open the app anymore.
- Right-click any folder you want to highlight.
- Hover over "Change Folder Icon".
- Select your desired color or style.
| Feature | Default Windows | Folder Painter |
|---|---|---|
| Speed of Recognition | Low (All yellow) | Instant (Visual cues) |
| Setup Time | 30 seconds per folder | 2 seconds (2 clicks) |
| System Impact | None | None (Registry based) |
| Customization | Very limited | Unlimited (.ico support) |
Step 4: Advanced Customization (The "Expert" Layer)
If you want to take your organization to the next level, there are features most users overlook:
1. Subfolder Inheritance
In the main app, check the "Change the icon of subfolders" option. This is a lifesaver for large projects. If you mark a parent folder as "Work," every folder inside it will automatically inherit that visual identity.
2. Adding Your Own Icon Packs
You aren't stuck with the defaults. You can drop any .ico files into the Icons folder within the Folder Painter directory, and they will appear in your right-click menu after a quick refresh.
Video Tutorial: Seeing it in Action
Sometimes seeing the clicks is better than reading about them. Check out this quick walkthrough to see how I've set up my personal dev environment using these techniques.


Be the first to comment.